Table of Contents
- 1. Scope
- 2. Abbreviations
- 3. Module Requirements
- 4. Analysis
- 5. Design
- 6. Implementation
- 7. Module Tests
- 8. Summary
- 9. Appendix
Changelog
| Version | Date | Author | Comment |
|---|---|---|---|
| V0.1 | 21.10.2020 | Phillip Tran | created |
| V1.0 | 03.05.2021 | Phillip Tran | Fill document |
| V1.1 | 14.05.2021 | Phillip Tran | Added Issue-Links |
| V2.0 | 14.05.2021 | Phillip Tran | Completed Documentation |
1. Scope
This module documentation explains the Controller in more detail. It shows how the plugin is working in the backend for example how files are imported/exported and which features are implemented. The individual functions [1] are tested in advance and their results are documented here. If there are existing problems, they are also listed here and possible solutions are explained in more detail.
It can also serve as a programming guide, if further features should be implemented.
2. Abbreviations
- AMLX - AML Package
- CAEX - Computer Aided Engineering Exchange
- URI - Uniform Resource Identifier
3. Module Requirements
3.1 User View
This Module should provide the user the following features (only features that have been edited or implemented):
- An opportunity to create an AMLX File
- Add Role Classes
- Add Interfaces
- Add Attachments (like ComponentIcon or ManufacturerIcon)
- Export the created AMLX File
- Import other AMLX Files
- Load new Libraries
3.2 Requirements
The following requirements are implemented by this module: /NF100/, /F30/, /F40/, /F50/, /F80/, /BUG60/, /BUG70/, /BUG80/, /BUG110/, /BUG120/, /BUG130/, /BUG140/.
/NF100/: This requirement is made for future developers on this project. Since the previous project [2] was unfortunately not well maintained, variable names were not meaningful and there are a lot of dead code blocks, it is very difficult to get familiar with the project and develop the program further. This requirement deals with this problem. In the meantime many names have been replaced by meaningful names and many dead code blocks have been removed.
/F30/: This requirement is about adding new interfaces from another type. It is already possible to add electrical interfaces to the AMLX file. Now it should be possible to add more interfaces of type hydraulic and mechanical. So the user can not only create electrical devices, but also create an AMLX file for hydraulic and mechanical components. This requirement has been implemented, but still cannot be applied concretely, because the libraries are missing. The libraries are important to load the correct attributes for the respective devices. Custom attributes should not be allowed, because this would violate the general rules for unique devices and interfaces.
/F40/: This requirement is about exporting the file in the correct CAEX version. In the previous project [2] this was version 2.0. The latest version and the one to be implemented is 3.0. CAEX is a neutral data format for storing hierarchical object information. The versions differ in their standards. Version 3.0 is standardized in IEC 62424:2016 and DIN EN 62424:2017-12. This requirement has been implemented.
/F50/: This requirement is about mandatory parameter requirements. It is important that some attributes are entered before the AMLX file can be exported. The following parameters from the Generic Data are mandatory: Manufacturer, ManufacturerURI, Model, DeviceClass and ProductCode. These should be marked in red in the attribute table. In addition, it should be checked whether these fields have really been entered. If this is not the case, the user should be informed. This requirement was also implemented. It now checks whether the fields are filled in or not. If one of these fields is not filled in, an error message is returned to the user. It also checks if the ManufacturerURI is a URI.
/F80/: This requirement is about the AML Component Checker. The file is to be checked against the AMLX standards. It is checked whether the structure of the file fits and whether all libraries are present.
/BUG60/: This bug is triggered when there is no "Device Name" or "Vendor Name" set, and you try to save the file. The explorer opens and after a location is chosen the program informs the user that the file misses data and can not be saved. This should be checked earlier, before opening the save dialog. This bug has been fixed. It now checks if the "Device Name" and the "Vendor Name" is not null before opening the save dialog.
/BUG70/: This bug is triggered when trying to open a file. If the user opens a new file but cancels the process, the Plugin-Interface gets cleared, and it throws an error. The error is generated because, it checks for a path and tries to pass it to a function, but if you cancel the process the path is null. This bug has been fixed as well. Now it is possible to cancel the opening process without getting a cleared Interface and without throwing an error.
/BUG80/: This bug is triggered when trying to overwrite an old already saved file. If the user opens an old file and changes nothing, then tries to save the file, a new file is generated. You have no option to overwrite the file, because it always appends an .amlx to the file name. The bug has been fixed, and it is now possible to overwrite files. If an .amlx appendix has already been attached, then no new .amlx appendix is attached.
/BUG110/: This bug is triggered when trying to save a file. If the user clicks on save and cancels the process, then tries to save it again it saves an empty file. This bug has been fixed.
/BUG120/: This bug is triggered when trying to save a file. If the user opens an amlx file in the directory of the file a temporary file with .aml appendix is created. After saving the file a new amlx file is created and the temporary aml file is deleted. The problem is that the logic behind this deletes all files in the directory not ending with .amlx instead of just deleting the temporary .aml file.
/BUG130/: This bug is about the role class libraries. If the user adds multiple Role Class Libraries and saves the file, closes it and opens it again, only the first and the last library is shown. Also all Attributes have the same Attributes table of the first library.
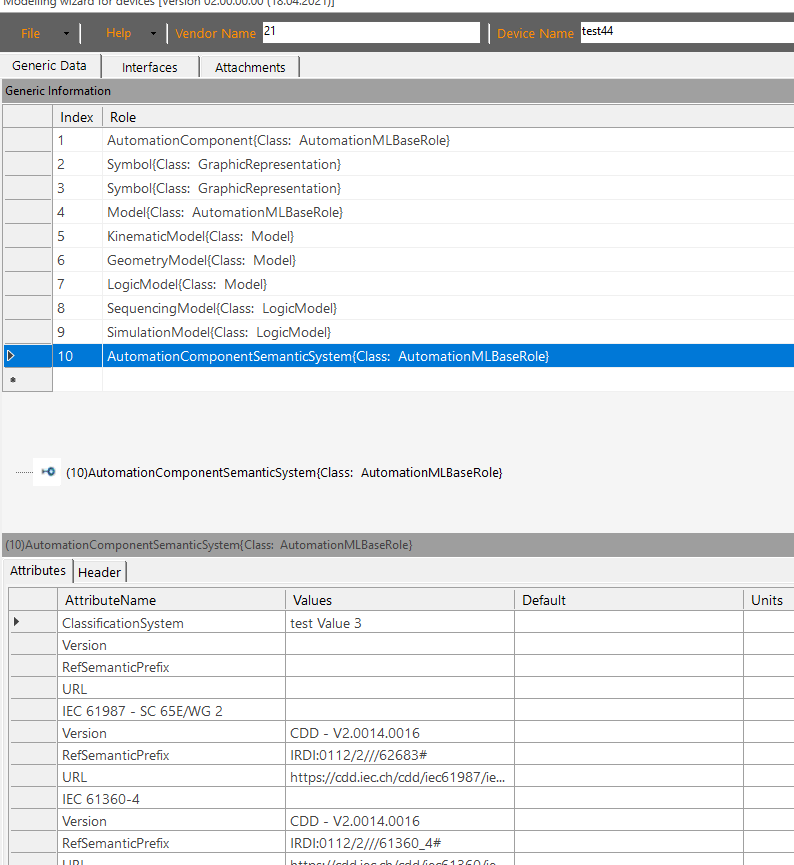
Figure 1 Save file
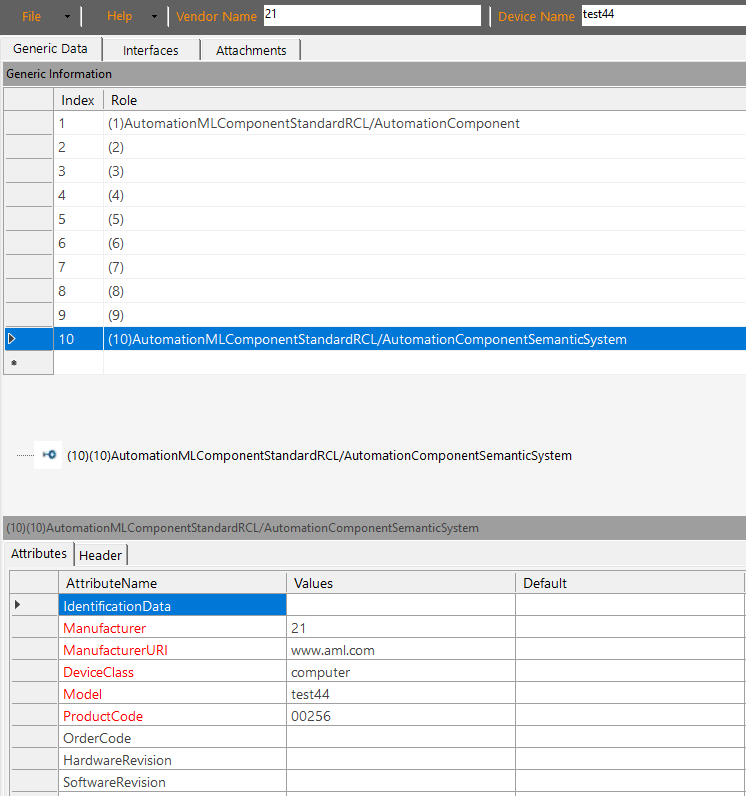
Figure 2 After opening a file
3.3 Module Context
This module provides the backend of the Plugin. It is responsible for ensuring that the data in the graphical user interface [5] is all correct and also that all the required data is in place. The data entered is then processed by the controller and put into the correct structure. If any information for creating an AMLX file is missing, the user will be informed about it via a specific error message. Images are attached as an external file in the AMLX container. Interfaces, role class and all associated libraries are stored in the root-aml file. Afterwards the file can be exported. The controller is also responsible for allowing the import of AMLX files. If this is not possible the user will be informed.
4. Analysis
The main task of the controller is the import and export of an AMLX file. The data for this is transmitted from the graphical user interface to the controller. The controller must then process the data and then create a root-aml file. When exporting, the following things must be taken into consideration: The libraries must be exported, all data must be exported, so that there is no data loss and the data must also be validated. When importing, it is important to be able to map the majority of all files. It is important that the libraries of a file are recognized and that it is included in the correct tab so that it can be processed correctly. In addition, there must be no loss of data, which means that images and all interfaces must also be imported correctly. If there are problems with the export, the user must be informed. This is usually done via an error message from the user interface.
5. Design
There are 3 important functions of the module: Importing a file, exporting a file and validating the data from the graphical user interface.
Validate data: The Validate Data must verify that all the data entered is correct. Thus, fields that are mandatory must logically be filled in. If they are not, a corresponding error message must be issued. In addition, it must be checked whether fields also have the correct data types. For example, a URI must have a certain syntax to be considered valid. Attributes that are not present, i.e. that were additionally entered by the user, may not be transferred, because the libraries are responsible for providing the attributes to the RoleClasses / Interfaces. If all data is correct and complete, the file can be exported.
Export: When exporting, all files are brought into the CAEX 3.0 structure by the program and the libraries are also entered into the root-aml file. Attachments, such as ComponentIcons and ManufacturerIcons are then added to the container with reference to the image.Once the export is complete, a confirmation message will appear.
Import: The import loads the file with the interfaces and libraries. The file is scanned for data and how to classify it. For example, the BaseClass is loaded into the GenericData tab, the interfaces into the Interfaces tab, and the attachments into the Attachments tab. Again, the data is checked to see if it conforms to the standards. If there are complications during the import, an error message is displayed.
5.1 Risks
The export is based on the libraries of CAEX. This decides the standard of the file and its structure. If the CAEX version is no longer maintained and gets outdated, there could be complications with the export. This danger is currently still quite small, since the newest standard is the version 3.0 and it was also task to implement this. However, if there are problems with importing CAEX 3.0 files in future AutomationML versions, the plugin would be unusable.
Libraries are very important for import and export. If these are not available, it can happen that files are not loaded correctly, or they are even no longer usable. In addition, it can happen that devices cannot be created because certain libraries are missing.
Another risk related to the fact that the program was programmed as a plugin is that it can only be used with the "AutomationML" application. If the plugin is no longer compatible with the AutomationML application, for various reasons, the plugin is unusable. This could happen, when there is a new version of AutomationML with new Standards for plugins.
6. Implementation
The controller module contains a lot of different functions that allow to execute certain actions on triggered events from the graphical user interface. However, these are not that important, so they will not be discussed in detail. The most important functions are those that represent the main functions.
Data validation:
- saveToolStripMenuItem_Click(): The most important data validation function is the saveToolStripMenuItem_Click() function. This validates the data and checks if all necessary data is present. If they are not present, a corresponding error message is output. If all data is correct, the data is passed to the export function.
Export:
- CreateDevice(): This function is responsible for converting the data into the correct data structure. In this function also for example URIs are converted into the correct data formats and images are attached into the container. The export file starts first of all to read the libraries from the data and to add them to the file. Then the generic data is inserted into the file. The name of the file is also taken from the generic data (Device Name & Vendor Name). Afterwards all interfaces, which were integrated, are attached to the file. If necessary, further libraries are included in the file. Finally, the other attachments are appended. When the file is finished, it is saved in the specified path as an .amlx file.
Import:
- openToolStripMenuItem_Click(): This function is responsible for importing files. First of all, it checks if the file has the correct structure or if any data is corrupt. If this is the case, a corresponding error message is returned. If the data is in the correct structure, the information is read from the file. These are arranged directly by the function into the three tabs. This means that libraries are loaded and can be seen on the right in the graphical interface, the base data in the generic data tab, the interfaces in the interfaces tab and the attachments in the attachments tab.
7. Module Tests
In this section all requirements will be tested separately on their functionality.
Further and more detailed Tests can be found here: [3] and [4]
7.1 Module Testplan
| Test-ID | Requirement-ID | Test Specification (Description) |
|---|---|---|
| 1 | F30 | This test verifies that it is possible to add Mechanical and Hydraulic Interfaces |
| 2 | F40 | This test verifies that the CAEX output version of the exported AMLX-file is 3.0 |
| 3 | F50 | This test verifies that the mandatory attributes are highlighted and checked before exporting a file |
| 4 | F80 | This test verifies if it can pass the AMLX Component Checker |
| 5 | BUG60 | This test verifies that the "Device Name" and "Vendor Name" is given before the save dialog opens |
| 6 | BUG70 | This test verifies that the current file is only cleared when the whole opening process has been finished |
| 7 | BUG80 | This test verifies that it is possible to overwrite files |
| 8 | BUG110 | This test verifies that it doesn't save an empty file after canceling the first save process |
| 9 | BUG120 | This test verifies that it doesn't clear the content of the directory on save |
| 10 | BUG130 | This test verifies if the added Role Class Libraries are all added to the AMLX file |
7.2 Module Testreport
| Test-ID | PASS / FAIL | When failed: Observation | Tester |
|---|---|---|---|
| 1 | PASS | - | S. Jess |
| 2 | PASS | - | S. Jess |
| 3 | PASS | - | P. Tran |
| 4 | FAIL | LINK TO ISSUE | P. Tran |
| 5 | PASS | - | P. Tran |
| 6 | PASS | - | P. Tran |
| 7 | PASS | - | P. Tran |
| 8 | PASS | - | P. Tran |
| 9 | PASS | - | S. Jess |
| 10 | FAIL | LINK TO ISSUE | J. Schmidt |
8. Summary
Most of the module requirements have been implemented successfully. The new CAEX version 3.0 has been implemented, so it is possible to export the AMLX also in this version. Many bugs were found here as well, which were also fixed. However, not all requirements were implemented, because the bug was not found despite debugging for days. The solutions are noted in the issue (F80). Also the import of foreign AMLX files, which have a different structure than the export structure of this plugin, works to some extent. Further enhancements were also implemented in this module to improve the usability of the program.
9. Appendix
9.1 References
[1] System Requirements Specification: https://github.com/DekaAthlos/TINF19C-ModellingWizard/wiki/1.-Software-Requirements--Specification
[2] Previous Project: https://github.com/Rajkumarpulaparthi/ModellingWizard
[3] System Test Plan: https://github.com/DekaAthlos/TINF19C-ModellingWizard/wiki/4.-Systemtestplan
[4] System Test Report: https://github.com/DekaAthlos/TINF19C-ModellingWizard/wiki/5.-Systemtestreport
[5] MOD.001: GUI: https://github.com/DekaAthlos/TINF19C-ModellingWizard/wiki/MOD.001:-Graphical-User-Interface-(GUI)
9.2 Code
The source code to this module can be found here: DeviceDescription.cs and MWData.cs
Author: Phillip Tran